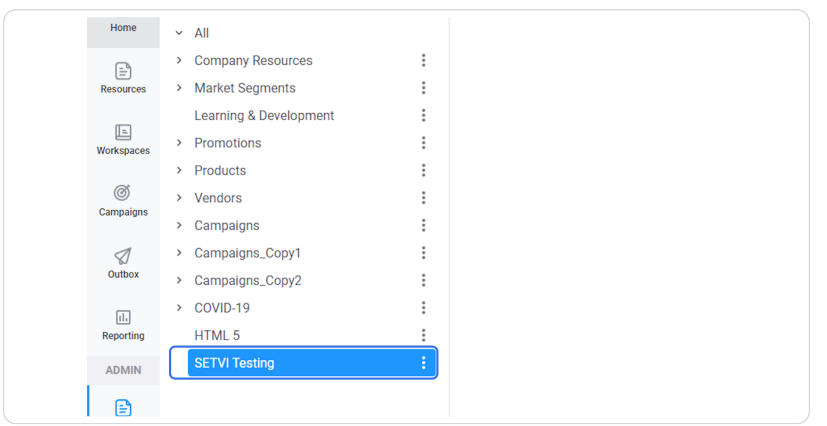
Add a Category
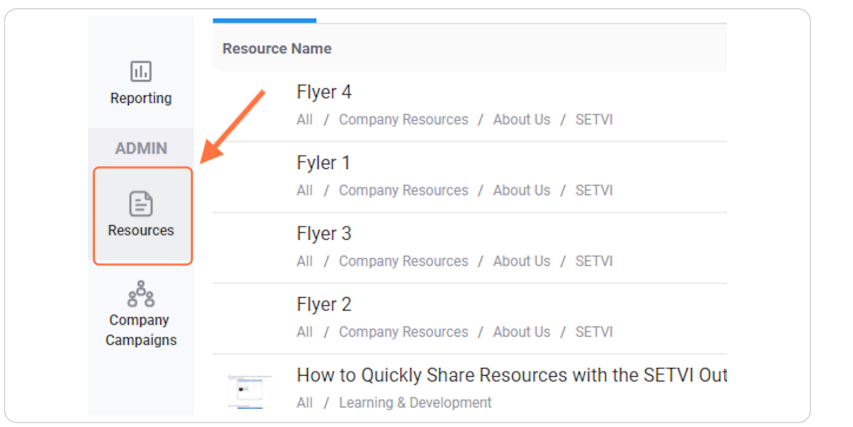
Step 1 — Open Resources within Setvi.
Under the Admin tab, click Resources.
Step 2 — Select where you want to add the category.
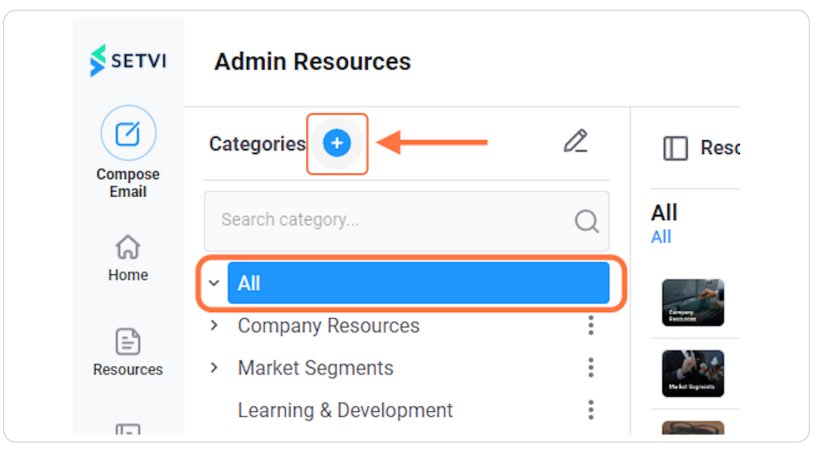
Select the location where you want the new category to appear.
If you select All, the created category will be at the end of all categories.
If you want to add a category under Company Resources, select Company Resources before clicking the + button.
Click the + button to add a category.
Step 3 — Enter the category information.
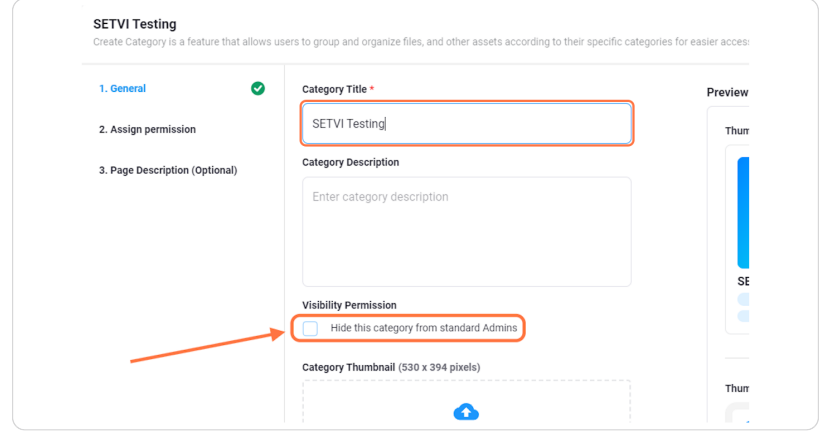
Enter your desired Category Title and a Category Description if you want.
You can hide the category from standard Admins if you wish.
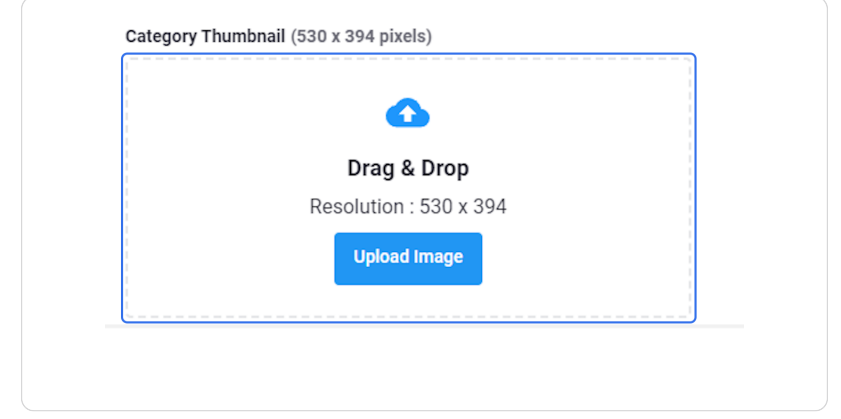
Step 4 — Upload a category thumbnail.
Click Upload Image to add a category thumbnail.
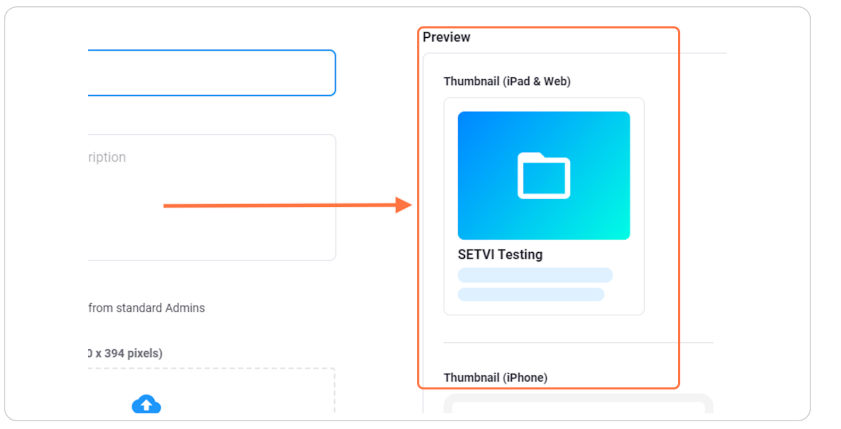
Step 5 — Review the thumbnail.
Review how the category thumbnail will appear on iPad, Web, and iPhone.
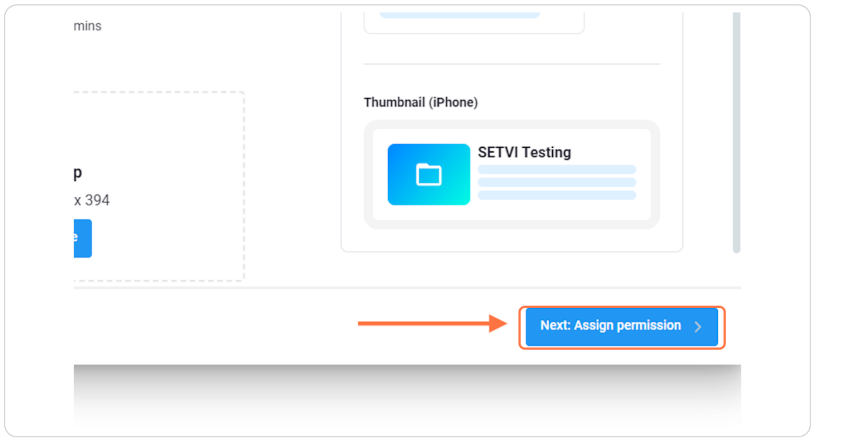
Step 6 — Continue to Assign Permission.
Once you are finished, click Next: Assign permission.
Assign Permissions
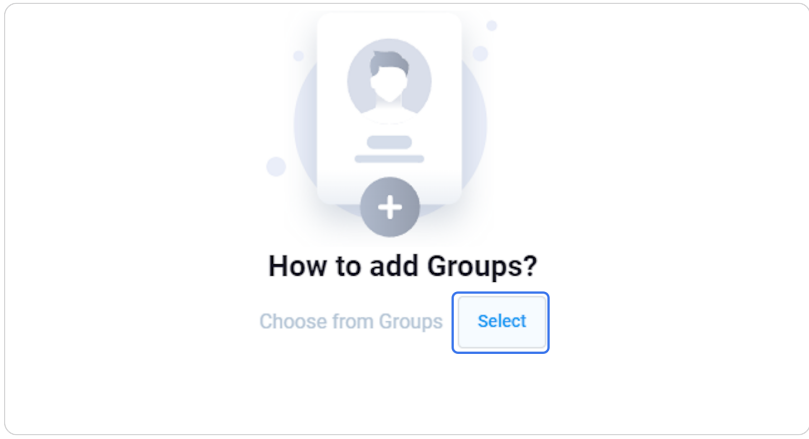
Step 7 — Select the groups that can see the category.
Choose which groups of users you are giving permission to see this category.
Click Select.
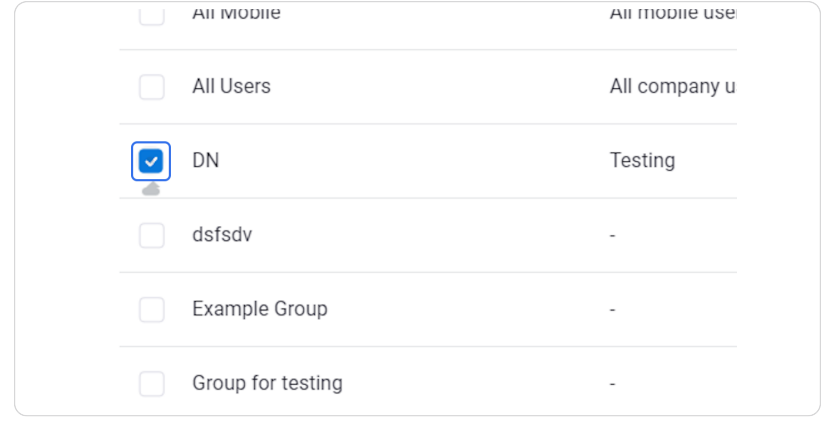
Step 8 — Select a group.
Select a group from the available options.
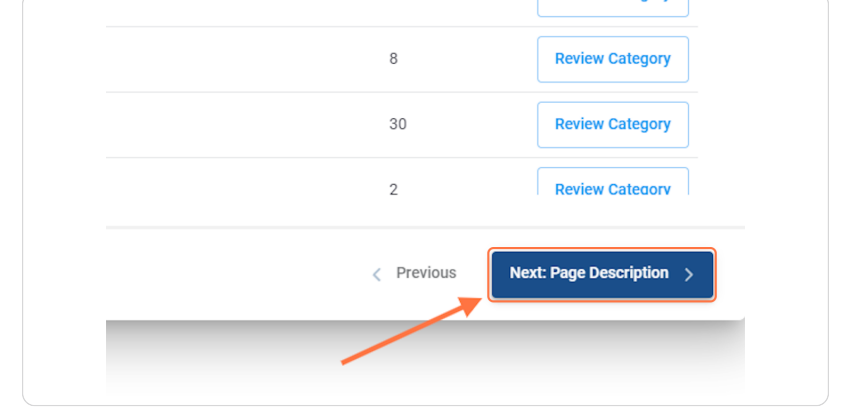
Step 9 — Continue to Page Description.
Once you pick groups, click Next: Page Description.
Confirm the Category
The source shows a Category successfully created confirmation after continuing to Page Description but does not document any additional actions between these screens. How to Add a Category
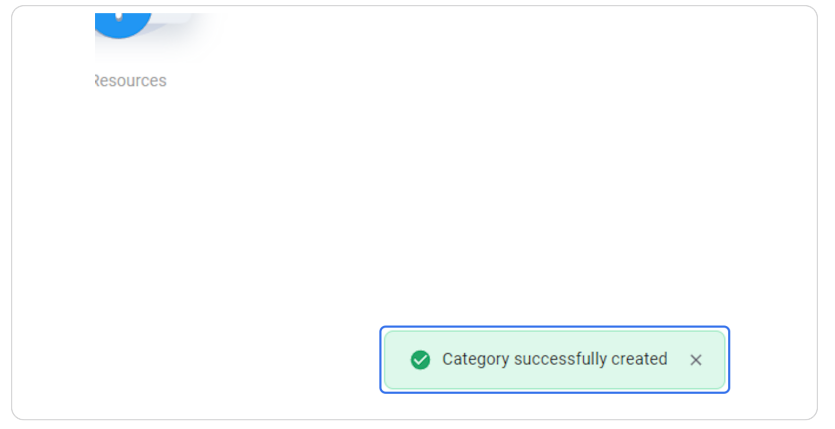
The new category will appear in the category list.