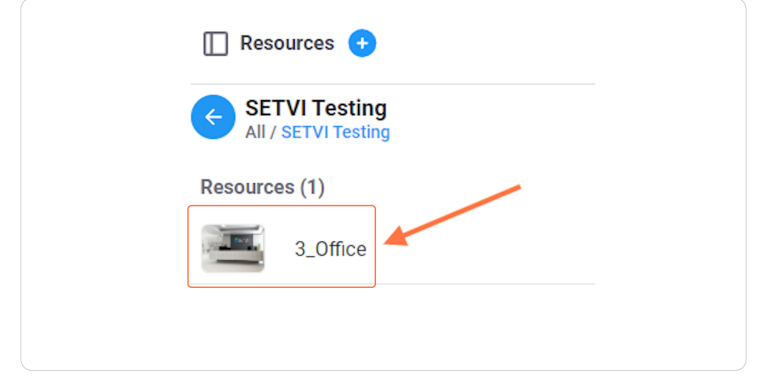
Add a Resource to Resources
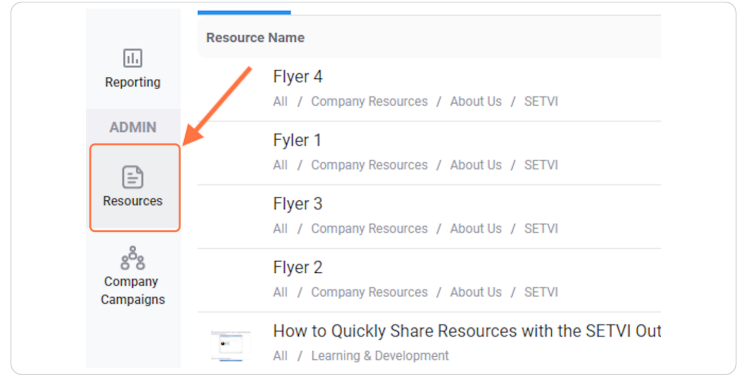
Step 1 — Open Resources within Setvi.
Under the Admin tab, click Resources.
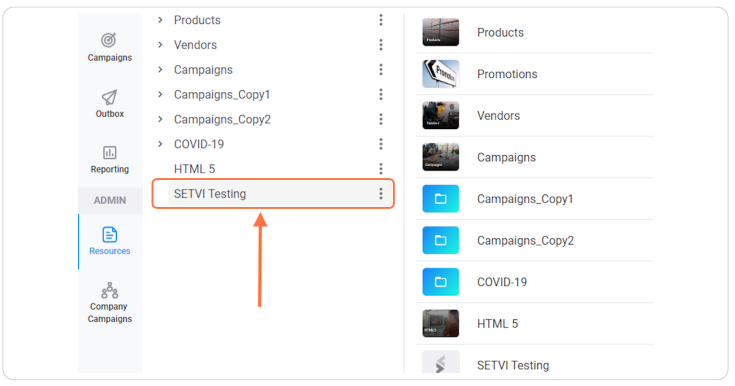
Step 2 — Select a category.
Click on the category that you want to add a resource.
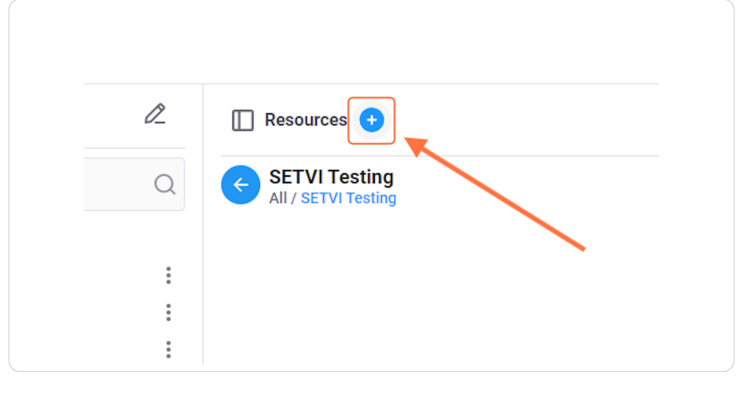
Step 3 — Add a resource.
Click the + button on the right side from Resources.
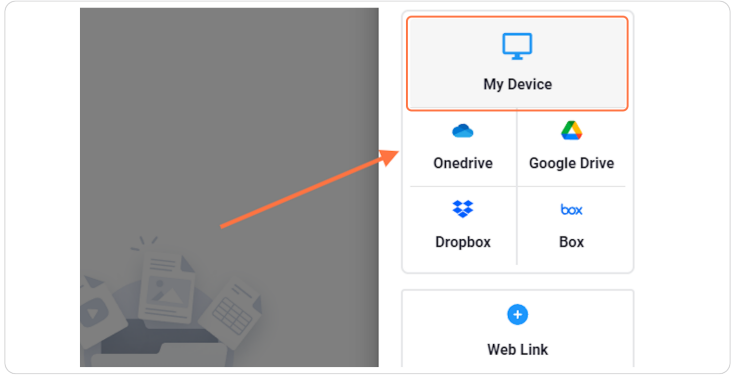
Step 4 — Choose where you are uploading the resource from.
Choose from where you are uploading a resource.
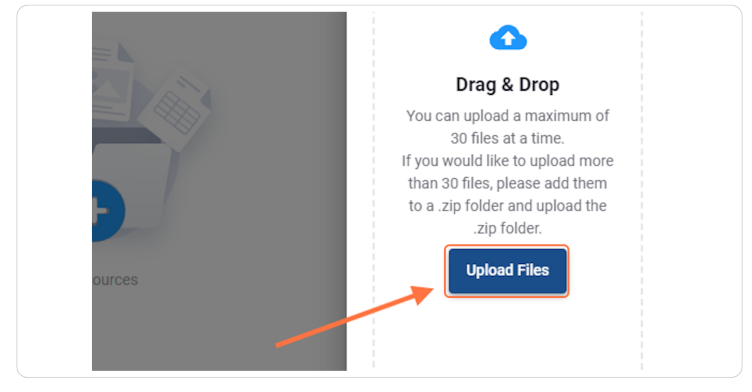
Step 5 — Upload the file.
Click Upload Files once you have chosen a resource.
Set the Resource Status and Thumbnail
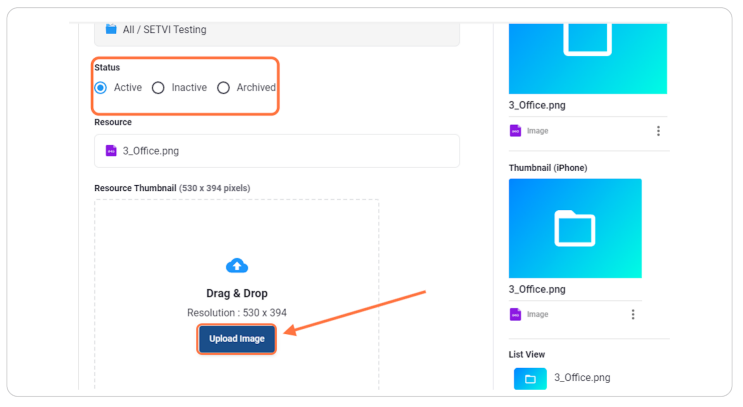
Step 6 — Select the status and upload a thumbnail.
Status Active means the resource is visible on engage.setvi.com.
Status Inactive/Archived means the resource will not be visible on engage.setvi.com for a standard user, but Admins will see it since it is not deleted.
Click Upload Image to upload the thumbnail of your resource.
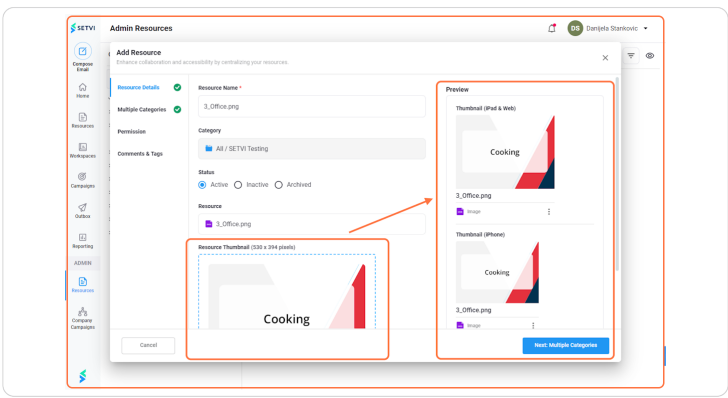
Step 7 — Review the thumbnail.
Once you upload a thumbnail, on the right side, you can see how it will appear on iPad, Web, and iPhone.
Step 8 — Continue to Multiple Categories.
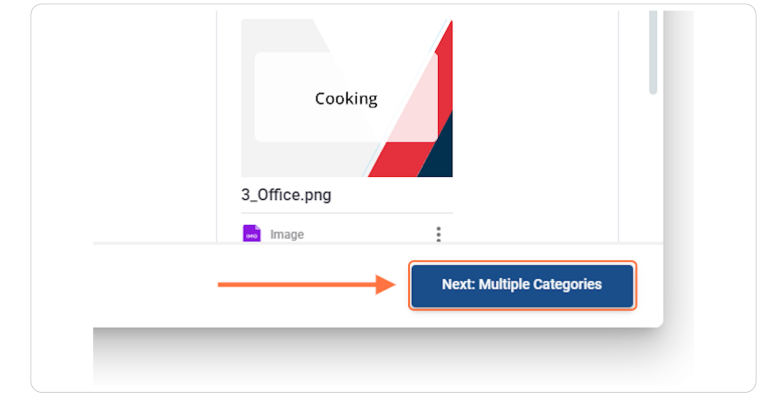
When you are finished, click Next: Multiple Categories.
Set Dates and Permissions
Step 9 — Set the resource dates and permissions.
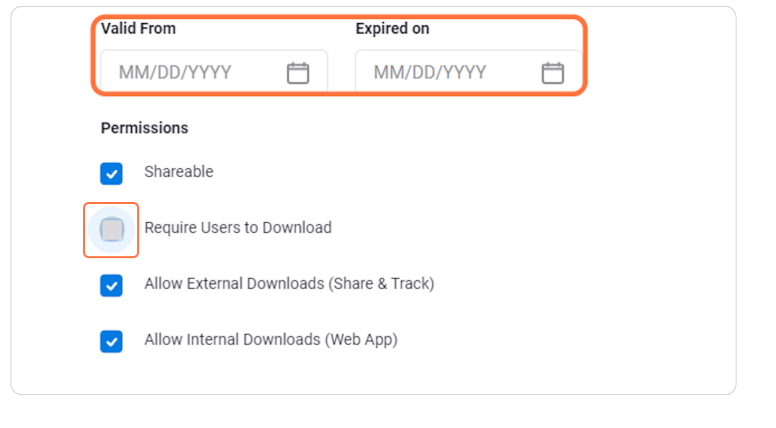
In this tab, you can select Valid From and Expires On, which is good for promotions. This means if you want a product to be on sale in the future, you don't have to wait for the start date; you can enter it in this section.
Shareable means you can share it via email. This option exists in case you do not want some files to be shared, such as a pricing sheet. This is mostly checked like a default option.
Require Users to Download is used if we want users to download this resource every time they see it. This is mostly unchecked, like a default option.
Allow External Downloads means that a customer who receives an email from Setvi can download the resource from that email. This is mostly checked, like a default option.
Allow Internal Downloads means that a user can download the resource from engage.setvi.com. This is mostly checked, like a default option. We uncheck this option, for example, for safety data sheets. When we uncheck this option, users won't be able to download and update that sheet, which means users will always know that the newest version is on the Setvi platform.
Step 10 — Continue to Comments & Tags.
When you are done, click Next: Comments & Tags.
Add Tags and Complete the Upload
Step 11 — Add tags.
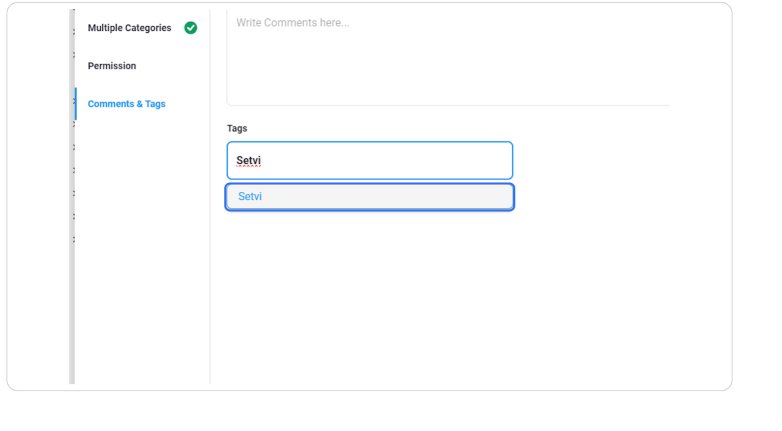
Tags are the key words that we type in a search box if we want this resource to show up.
Type the name of the tag, then press Enter.
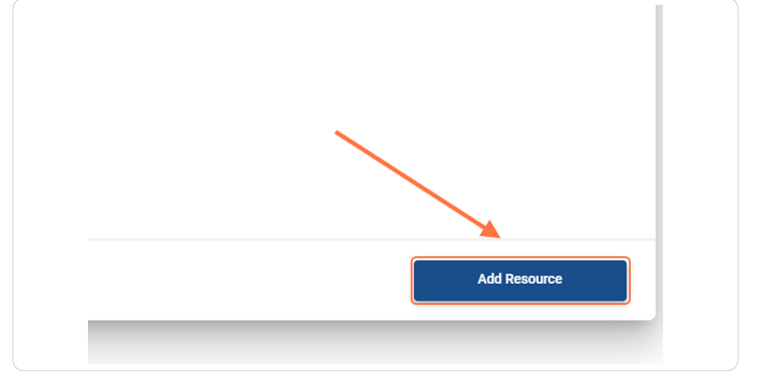
Step 12 — Add the resource.
When you are finished, click Add Resource.
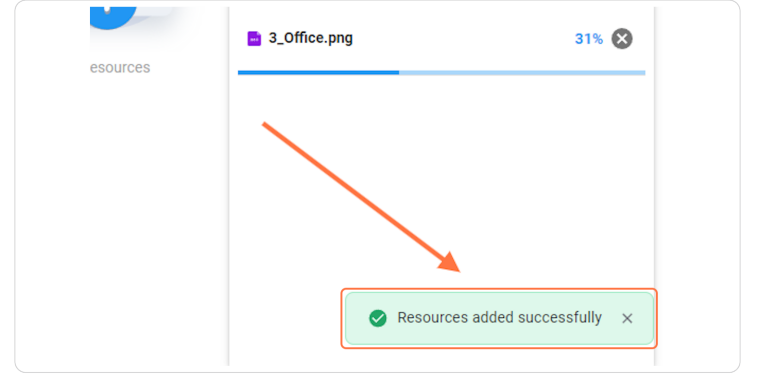
Step 13 — Confirm the resource was added.
The Resources added successfully message appears.
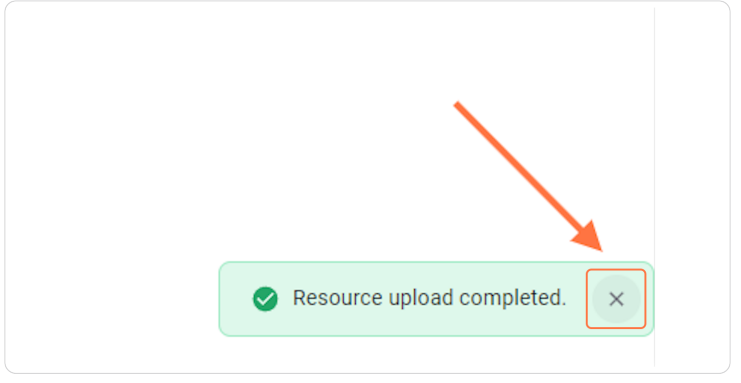
Step 14 — Close the completed upload.
Click the X button once the resource upload is completed.
Step 15 — Confirm the resource upload.
The resource has been uploaded successfully.