Share a Presentation
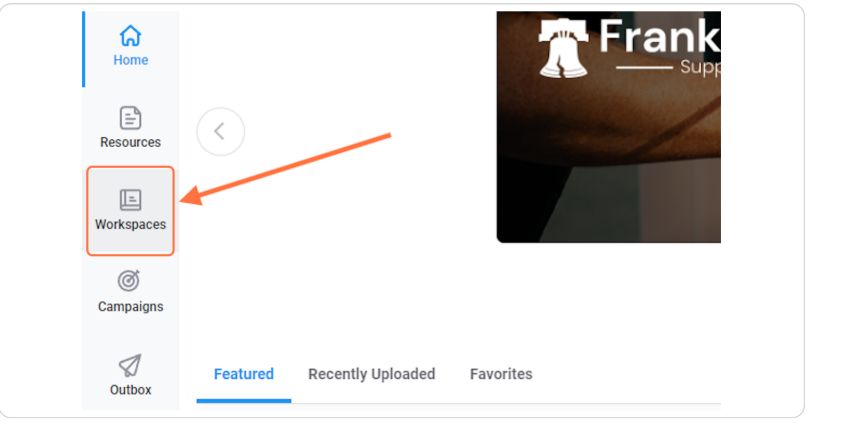
Step 1 — Open Workspaces within Setvi.
Click Workspaces.
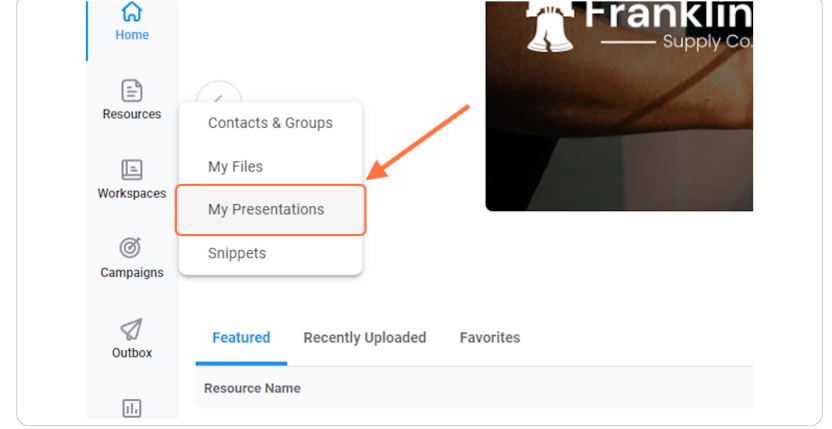
Step 2 — Open My Presentations.
Click My Presentations.
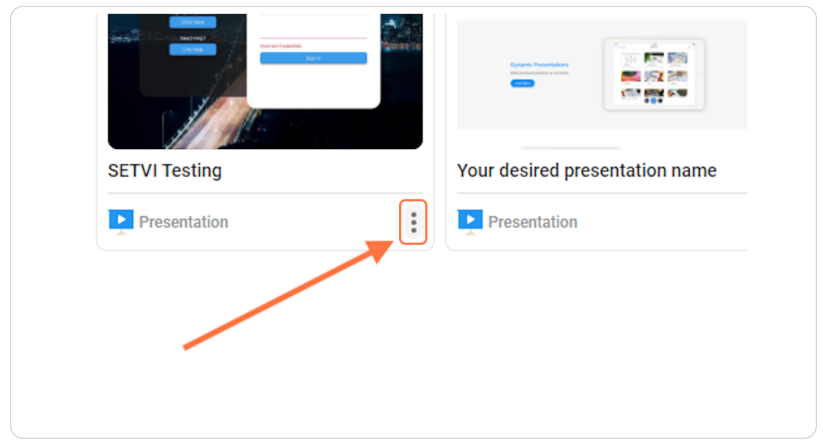
Step 3 — Select the presentation you want to share.
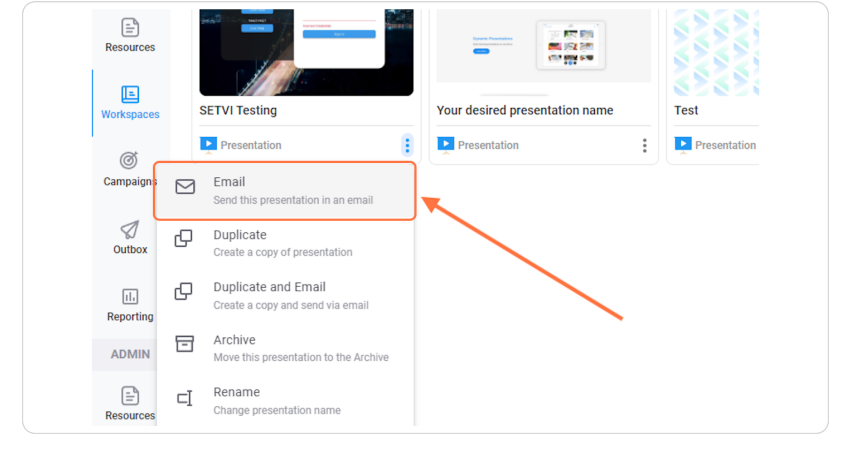
Pick which of your presentations you wish to share, and click the dropdown menu.
Step 4 — Select Email.
Click Email.
Prepare the Email
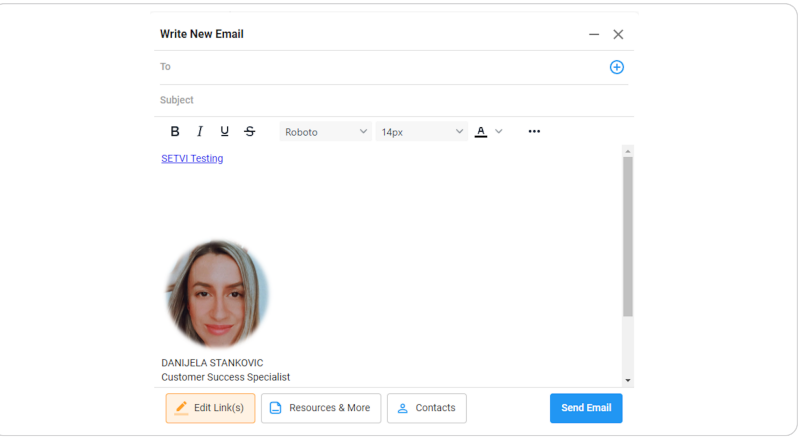
Step 5 — Set up the email.
In the email window, you can:
- Write your desired email subject and body.
- Add recipients.
- Edit your link (presentation).
- Add new resources.
Edit the Presentation Link
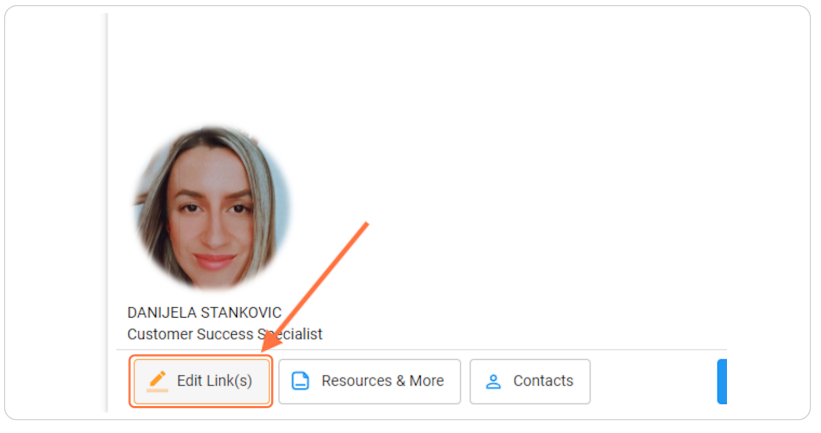
Step 6 — Open Edit Link(s).
Click Edit Link(s) to edit your presentation.
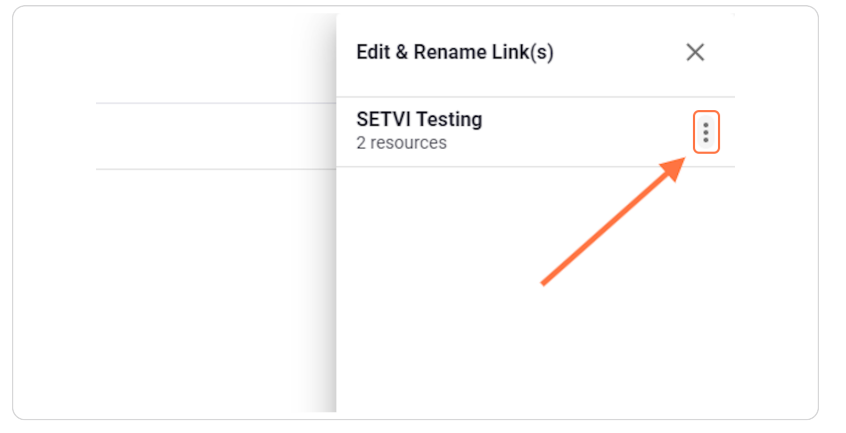
Step 7 — Open the presentation options.
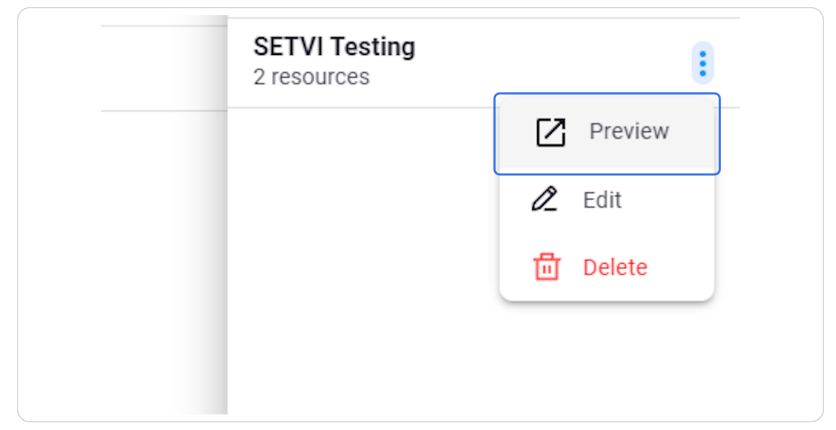
Click the three dots on the right side of the name of the presentation.
Step 8 — Preview, edit, or delete the presentation.
You can Preview, Edit, or Delete a presentation you want to send.
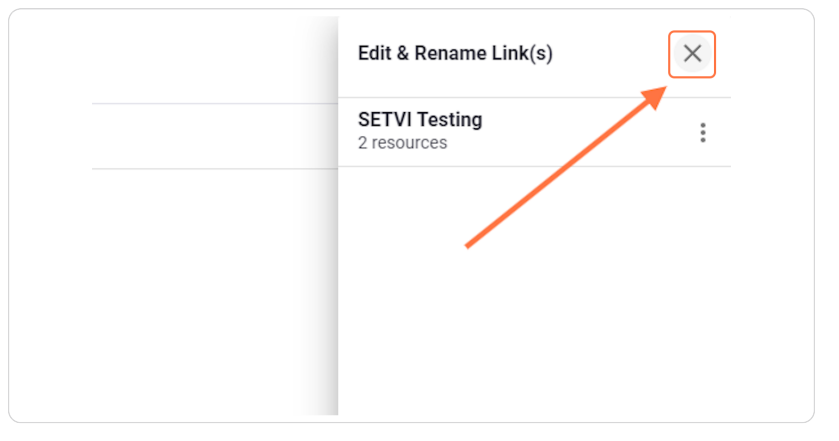
Step 9 — Close the Edit & Rename Link(s) window.
Click the X button once you are finished.
Add Recipients
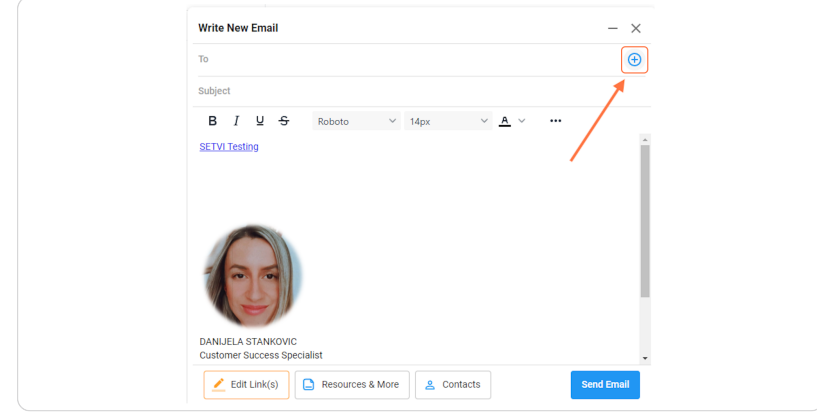
Step 10 — Add contacts or groups.
Click + to add contacts or groups to send your presentation.
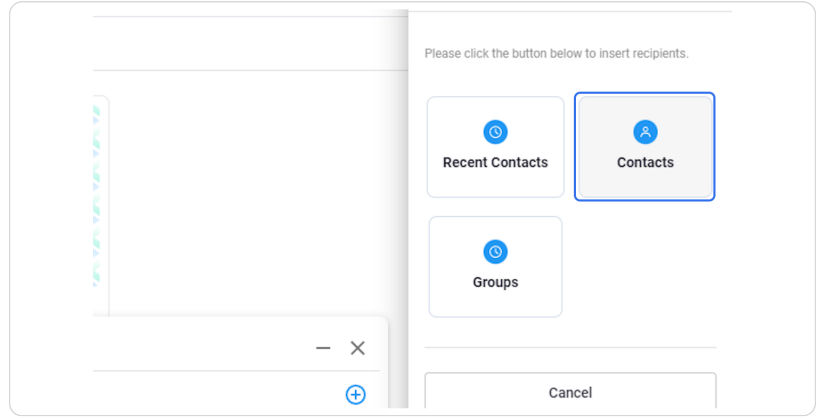
Step 11 — Choose the recipient option.
Choose what you want.
The available options shown are:
- Recent Contacts
- Contacts
- Groups
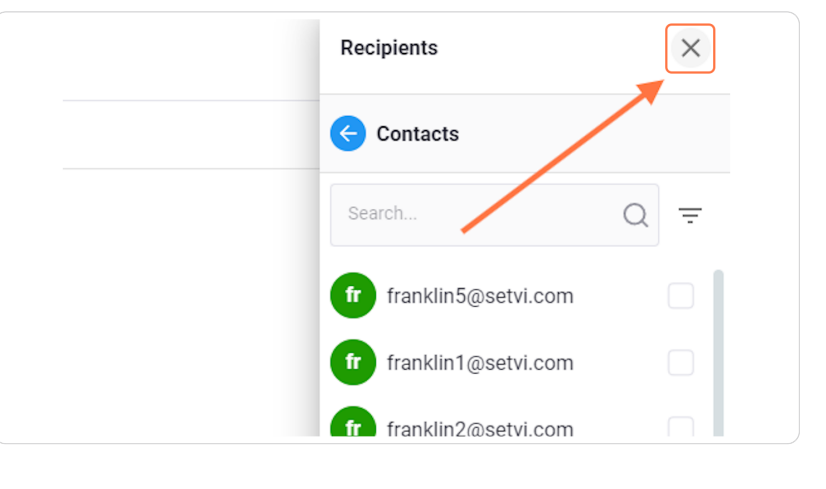
Step 12 — Close the Recipients window.
Click the X button when you are finished.
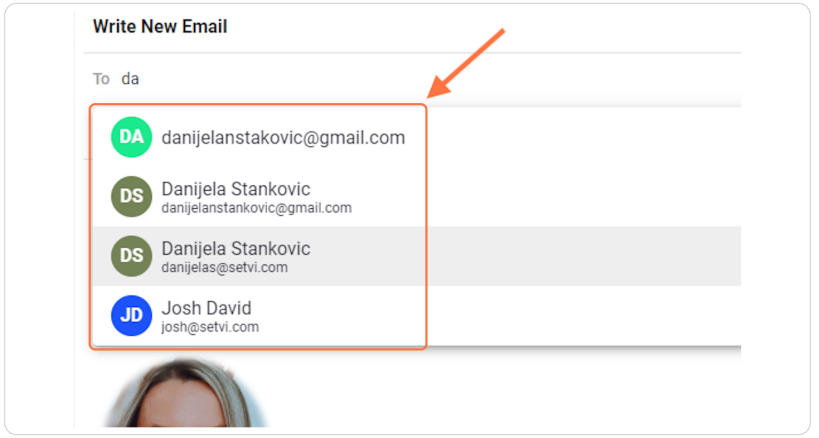
Step 13 — Search for a recipient.
You can start typing the name of the recipient, and Setvi will automatically suggest the email address of the recipient.
Send the Presentation
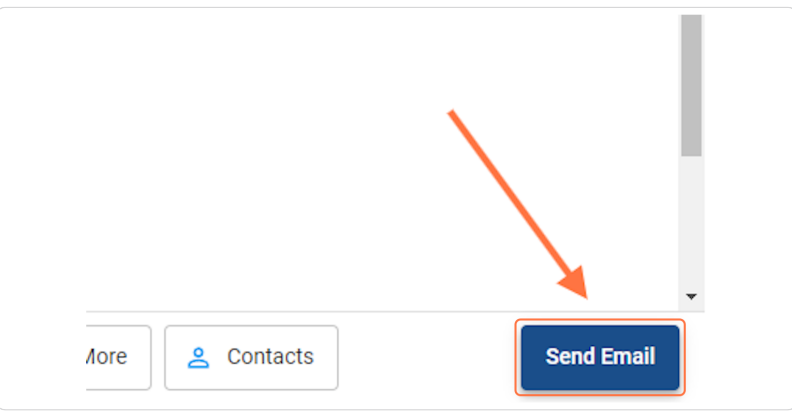
Step 14 — Send the email.
When your email is ready to go, click Send Email.
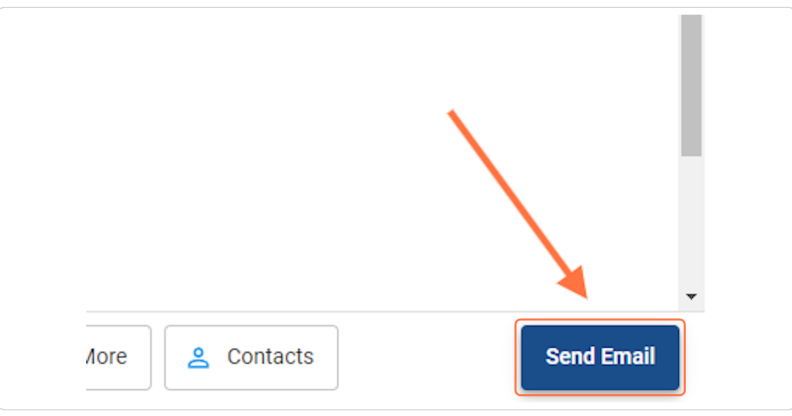
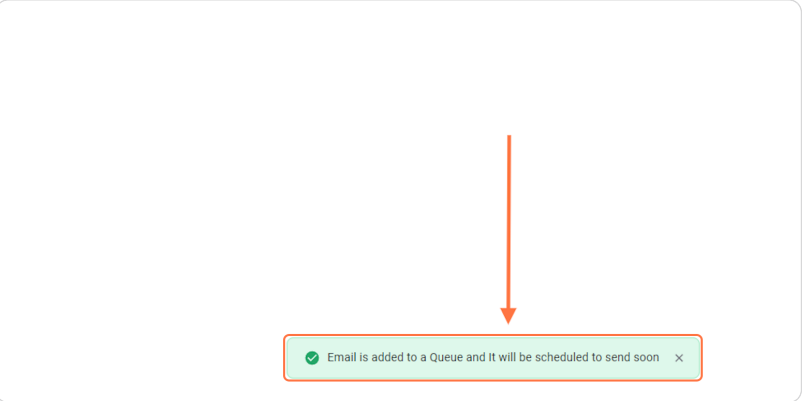
Step 15 — Confirm the email was added to the queue.
Once you click, an email is added to a Queue, and it will be scheduled to be sent soon.